
Ceremony guide · Arches & installations
Wedding Flower Arches & Installations: Styles, Costs, and How to Decorate One Yourself
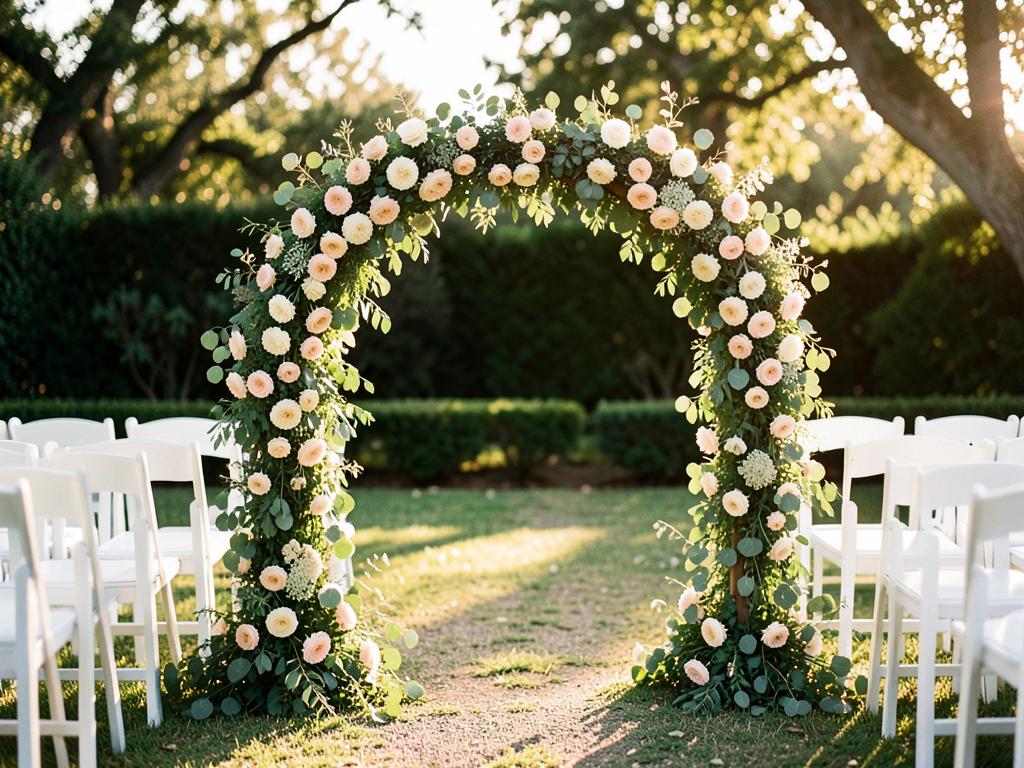
The ceremony arch is the backdrop for your vows, your first kiss, and most of the photographs you will actually print. It is also the single floral piece couples most often underestimate — in stems, in build time, and in the hardware that keeps it standing. This guide covers the common arch and installation styles, how much florals for each one cost in 2026, when to hire out versus build it yourself, and a complete step-by-step for decorating an arch on your own.
Arch and installation styles
| Style | What it is | Best for |
|---|---|---|
| Full arch / arbor | A rounded or square frame the couple stands beneath | Traditional ceremonies, open lawns, beaches |
| Triangle arch | An angular frame, usually metal, with clean lines | Modern and minimalist palettes |
| Circle / moon gate | A round frame, florals on one or two arcs | Photo-forward ceremonies, editorial styling |
| Chuppah | Four posts and a canopy, often with fabric | Jewish ceremonies and canopy traditions |
| Asymmetrical corner spray | Heavy florals on one corner, bare frame elsewhere | Getting maximum impact for the fewest stems |
| Hanging / suspended installation | Florals or greenery hung from a beam or ceiling | Barns, ballrooms, tented receptions |
| Ground meadow / aisle ends | Clustered florals at the base, no frame at all | Venues that prohibit structures |
Sizing: there is no standard height
Arches are built to the space, not to a fixed measurement. A garden ceremony for forty guests reads beautifully with a frame around seven feet tall; a ballroom with high ceilings or a large outdoor lawn usually needs nine to twelve feet before the arch stops looking small against the room. We regularly design and quote installations well beyond that, including full-width backdrops and suspended pieces that span an entire dance floor.
Two rules of thumb when you are choosing a size:
- Leave headroom. The lowest point of the florals should clear the taller partner by at least a foot, or your ceremony photos will have blooms growing out of someone's head.
- Match the backdrop. Against a wide open view, go wider rather than taller. Against a tall wall or tree line, height is what makes the arch register.
What arch florals cost in 2026
Cost is driven by coverage, not by the frame. The frame itself is usually rented for $75–$250, or bought for $60–$200 if you plan to resell it afterwards. Florals sit on top of that:
| Coverage | Fresh stems | Fresh florals | Premium artificial |
|---|---|---|---|
| Greenery only, partial | 25–40 | $250–$500 | $180–$400 |
| Asymmetrical corner spray | 45–75 | $500–$1,100 | $350–$800 |
| Two corners plus a light top | 80–130 | $1,000–$2,200 | $700–$1,500 |
| Full lush coverage | 150–300+ | $2,000–$5,000+ | $1,400–$3,500 |
Ranges are 2026 estimates and move with your region, your season, and your palette. For the live per-stem numbers behind our quotes, see the 2026 flower price index, and get an itemized figure for your own ceremony with a free quote.
Professional installation adds labor on top: an arch is typically a two-person, two-to-four-hour build on site, plus teardown. That is why installations carry a higher labor share than any other floral item on the invoice.
Fresh versus premium artificial for arches
Arches are the one place where artificial stems most often win outright. An arch sits outdoors, unwatered, in direct sun, for hours before anyone walks the aisle.
- Heat and sun. Fresh hydrangea, dahlias, and garden roses wilt visibly within two to three hours above 85°F unless every stem sits in water tubes or soaked foam. Artificial does not care.
- Wind. Both need weighting, but artificial garlands keep their shape after a gust; fresh blooms shatter petals.
- Build timing. An artificial arch can be assembled in sections weeks ahead and installed in thirty minutes. A fresh arch is built the morning of.
- Reuse and resale. Artificial arch pieces resell for roughly 30–50% of cost, or move to the reception as a head-table backdrop.
- Where fresh still wins. Fragrance, movement, and the soft translucency of real petals in close-up photos. A common compromise is an artificial greenery base with fresh focal blooms wired in on the morning of the ceremony.
DIY: how to decorate a wedding arch
Plan on three to five hours for two people for a corner-spray arch, and a full day for full coverage. Do not attempt an arch alone — half of the work is holding things in place while the other person wires.
Tools and hardware
- Arch frame (metal, wood, or PVC) plus its base plates
- Sandbags, water weights, or ground stakes — two per leg
- Zip ties (8-inch, in a color close to the frame)
- 22-gauge paddle wire and 22-gauge floral wire
- Floral tape and waterproof stem tape
- Sharp floral shears and wire cutters
- Chicken wire or foam cages (fresh coverage only)
- A step ladder, work gloves, and a drop cloth
Flower and greenery list (asymmetrical corner spray)
| Material | Fresh count | Artificial count | Role |
|---|---|---|---|
| Base greenery (eucalyptus, ruscus, salal) | 25–35 stems | 4–6 garlands | Covers the frame, sets the shape |
| Large focal blooms (garden rose, peony, dahlia) | 15–25 | 12–18 | The eye-catching clusters |
| Secondary blooms (spray rose, ranunculus, lisianthus) | 15–20 | 12–16 | Bridges between focal clusters |
| Airy filler (Queen Anne's lace, limonium, astilbe) | 10–15 | 8–12 | Softens hard edges |
| Trailing accent (amaranthus, ivy, smilax) | 5–8 | 4–6 | Movement down the leg |
Double these counts for two corners plus a top, or triple to four times for full lush coverage.
Step 1: Lay out the frame and the materials
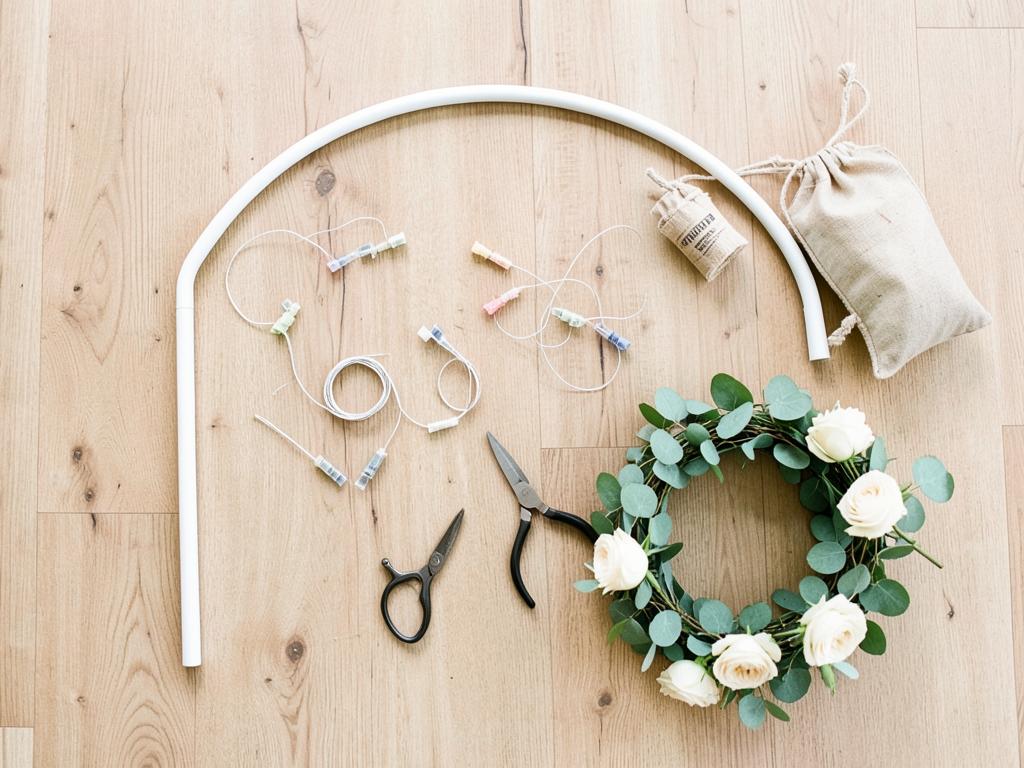
Assemble the frame once at home first. Confirm it fits together, note which joints are loose, and count your stems against the list above. Group your focal blooms into three to five clusters now, wiring each cluster into a small bundle — the actual on-site build goes three times faster when you are attaching bundles instead of single stems.
Step 2: Set and weight the frame
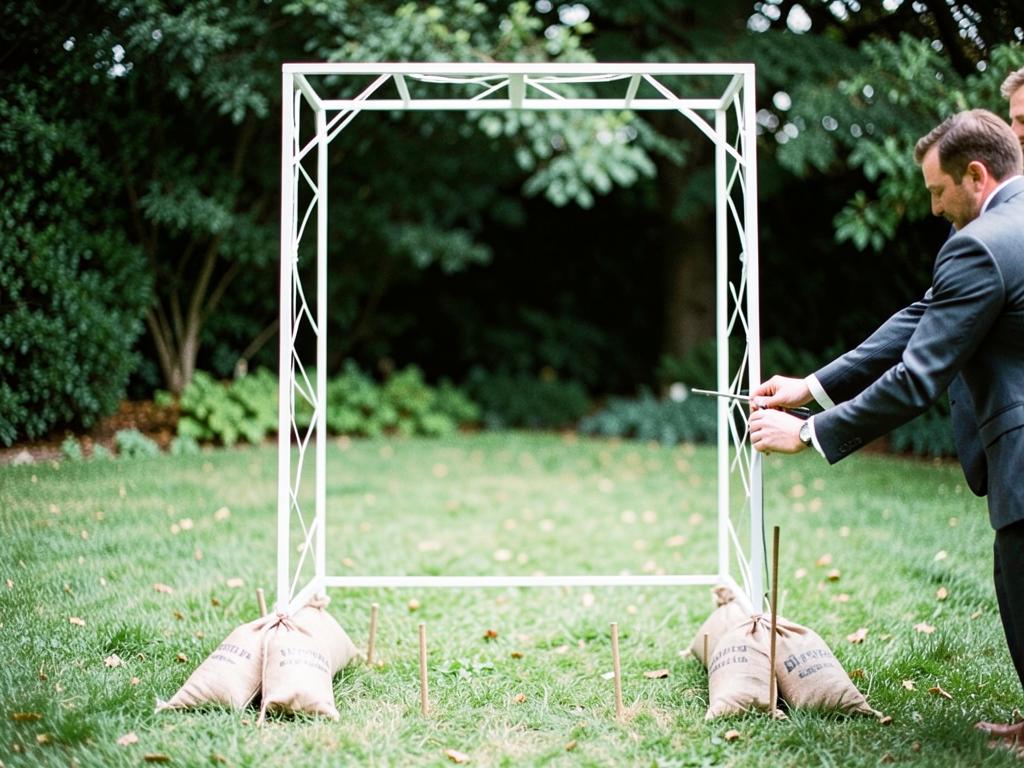
Position the arch first, check it against the aisle from where guests will sit, and only then anchor it. Use sandbags or water weights on hard surfaces and stakes on grass — two per leg, on both sides. Check that the frame is level; an arch that leans an inch looks like a foot in photos. If the venue is windy or the arch is over eight feet, add guy lines to discreet stakes behind the frame.
Safety: never put an unweighted arch near seated guests, and never rely on the frame's own base plates alone outdoors.
Step 3: Build the greenery base
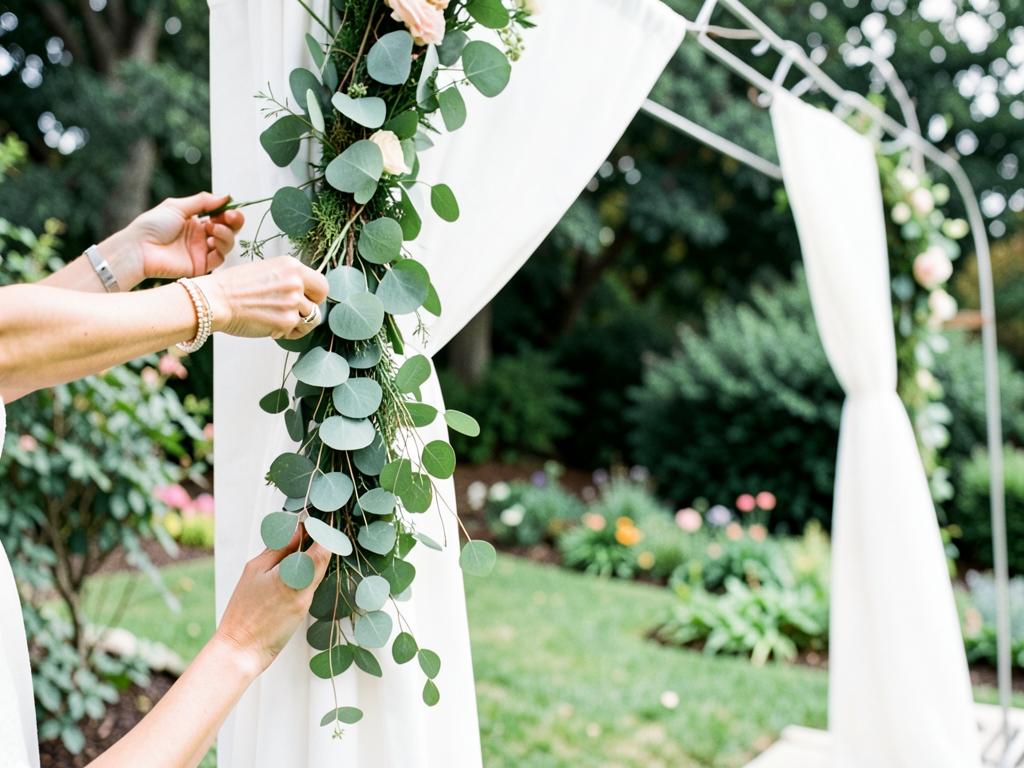
Work from the bottom of one leg upward. Attach garland with paddle wire every 8–10 inches, wrapping tightly so nothing slips; zip ties are faster but must be hidden under the next layer. For fresh work, wrap the frame in chicken wire first and tuck hydrated stems into it, or strap foam cages at the corners where the heaviest clusters will sit.
Let the greenery break the frame's outline — a few stems reaching out 10–15 inches keep the arch from looking like a wrapped pipe.
Step 4: Add focal clusters
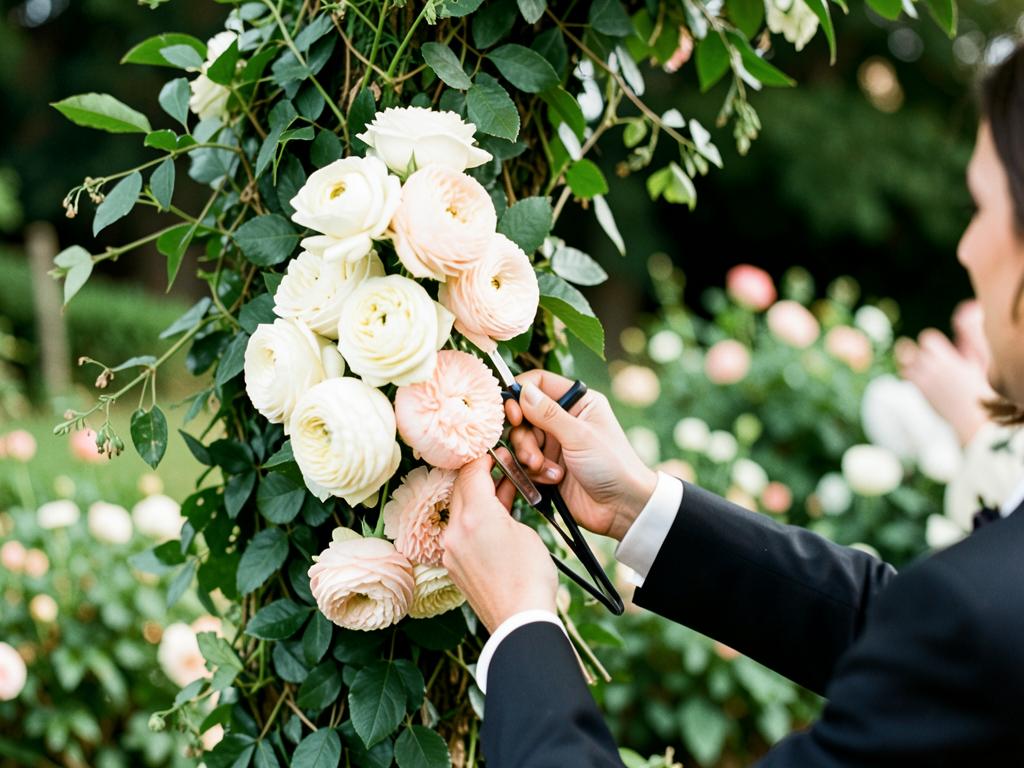
Attach your pre-made bundles in odd numbers — three or five — arranged along a diagonal line so the eye travels from the top corner down one leg. Make the top cluster the largest, the middle one medium, and the lowest one smallest. Vary the depth: some blooms should sit deep in the greenery and some should sit proud of it. Face every bloom slightly outward toward the guests, not up at the sky.
Fresh tip: Cluster stems into water tubes and hide the tubes behind greenery, or wire them into foam cages soaked that morning.
Artificial tip: Bend the wired stems into gentle curves before attaching. Straight artificial stems are what make an arch look artificial.
Step 5: Fill, soften, and add drapery
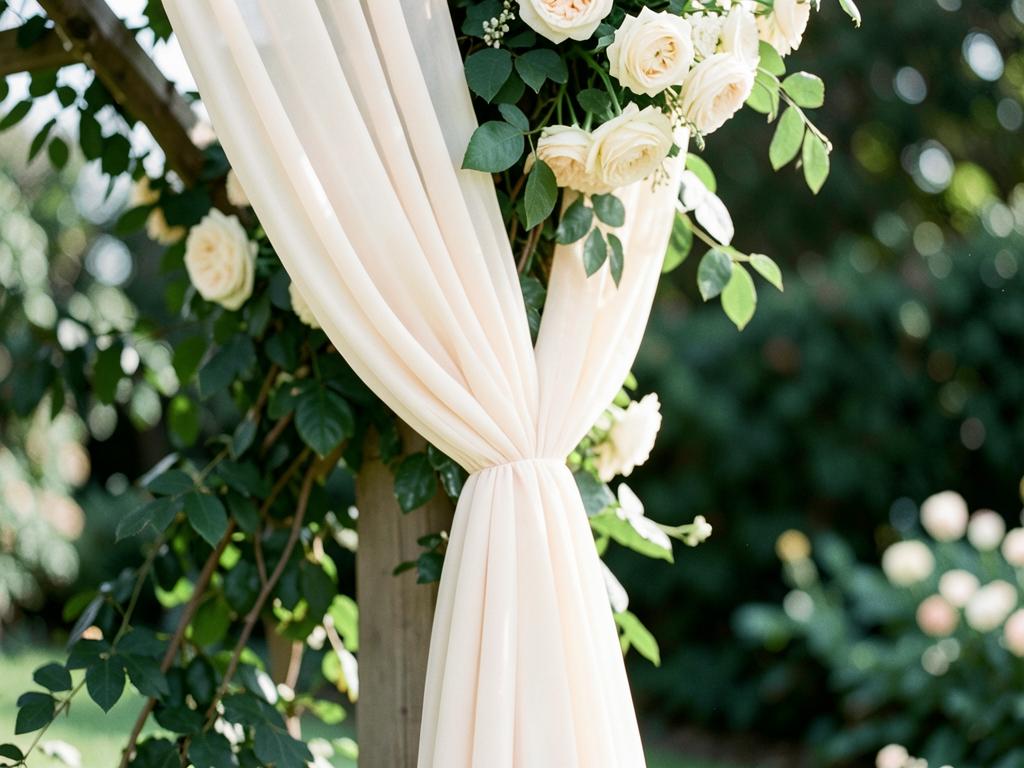
Tuck airy filler into every visible gap and join, then add trailing stems so something spills down the leg and out the sides. Stand back fifteen feet after each addition — arch work always looks different from guest distance than from arm's length.
If you are adding fabric, hang it before the last round of filler so you can hide the tie points with flowers. Secure drapery at the top corners and gather it at knee height; leave enough slack for movement, but not so much that it can wrap the frame in wind.
Step 6: Final check and day-of touch-up
Before you call it done, walk through this list:
- No exposed frame, wire, tape, zip ties, or tubes from any angle
- Weights hidden by greenery, fabric, or ground florals
- Level frame, clear headroom, nothing hanging into the aisle
- Even color distribution — no single color pooling in one spot
- A photo taken from the back row, where most guests will look from
On the wedding morning, revisit the arch an hour before the ceremony. Mist fresh blooms, replace anything that browned, re-fluff artificial petals, and re-check the weights. Assign one person to teardown so the frame and reusable pieces do not disappear during the reception.
Common mistakes
- Spreading stems evenly over the whole frame. Thin, even coverage reads as sparse in photos. Concentrate your flowers.
- Skipping the weights. The most common wedding-day floral failure is an arch on the ground.
- Building fresh too early. Fresh arch work done the night before, unhydrated, is brown by the ceremony.
- Ignoring the sun. Check where the sun sits at your ceremony time; a backlit arch photographs as a silhouette.
- Buying too few stems. Arch coverage eats stems faster than any other piece. Order 15% over your estimate.
- No teardown plan. Decide in advance who moves the arch florals to the reception and who returns the rented frame.