
DIY tutorial · Centerpiece
How to Make a Wedding Centerpiece: A Step-by-Step Guide for Fresh & Artificial Flowers

A well-made centerpiece anchors the table, frames conversation, and ties your whole palette together. Whether you are working with seasonal fresh blooms or premium artificial stems, the design principles are the same. This guide walks you through a classic medium-height rounded centerpiece — the most versatile shape for reception tables.
At a glance
| Detail | Fresh flowers | Artificial flowers |
|---|---|---|
| Time per piece | 30–50 min | 40–60 min |
| Difficulty | Beginner–intermediate | Beginner |
| Total stems per piece | 18–28 | 15–22 |
| Make-ahead window | 24–48 hours | 2–8 weeks |
| Approx. cost per piece | $45–$120 | $35–$90 |
Interactive
Stem & scale calculator
| Per arrangement | Focal | Secondary | Filler |
|---|---|---|---|
| Stems | 8 | 12 | 15 |
Order totals include a 10% buffer for breakage, rounded to the nearest bunch of 5. Focal = roses/peonies/dahlias. Secondary = ranunculus/spray roses. Filler = eucalyptus/wax flower/baby's breath.
What you will need
Tools (both types)
- Sharp floral shears
- Wire cutters (for artificial stems)
- Hot glue gun + glue sticks (artificial only)
- 22-gauge floral wire (artificial only)
- Measuring tape
Fresh-flower supplies
- Vessel or bowl (4–6 inches tall, 5–7 inches wide at the opening)
- Floral foam (oasis) or chicken wire + tape grid
- Floral preservative
- Waterproof container or liner if using a non-watertight vessel
- Clear waterproof tape (to create a grid on the rim)
Artificial-flower supplies
- Vessel or bowl (same size as above)
- Dry floral foam or weighted floral foam
- Decorative stones, sand, or plaster of Paris (for weight)
- Moss or faux greenery mat (to cover the foam)
Flower shopping list (one centerpiece)
| Flower type | Fresh count | Artificial count | Role |
|---|---|---|---|
| Tall focal (delphinium, snapdragon, stock) | 3–5 | 2–4 | Height and vertical interest |
| Medium focal (rose, peony, hydrangea) | 5–8 | 4–6 | Body and color |
| Filler (baby's breath, Queen Anne's lace) | 2–4 stems | 2–3 stems | Softness and texture |
| Greenery (eucalyptus, ruscus, fern) | 6–10 stems | 5–8 stems | Frame and base coverage |
| Trailing accent (ivy, amaranthus, smilax) | 2–3 stems | 2–3 stems | Movement and drama |
Step-by-step assembly
Step 1: Prepare the vessel
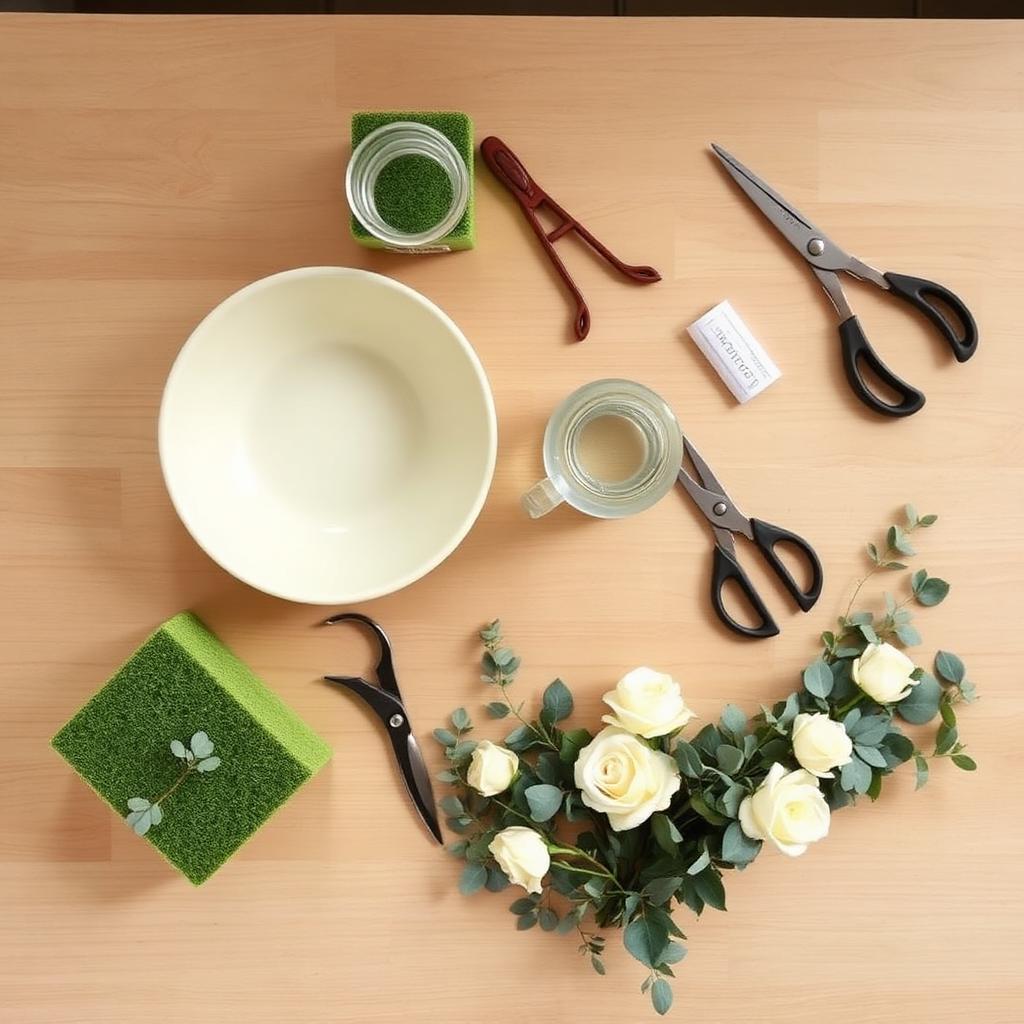
Fresh: If using floral foam, cut it to fit snugly inside the vessel with 1–2 inches above the rim. Soak the foam in water mixed with floral preservative for 15–20 minutes until fully saturated (it will sink on its own — do not force it). If using a tape grid, create a crisscross pattern across the opening with clear waterproof tape, leaving 1-inch squares. Fill the vessel with 3–4 inches of water.
Artificial: Cut dry floral foam to fit tightly inside the vessel. Glue the foam to the bottom of the vessel with hot glue so it does not shift. If the vessel is tall and narrow, add decorative stones or sand to the base for weight before inserting the foam. Cover the foam surface with sheet moss or a faux greenery mat so no bare foam is visible from the edge.
Step 2: Build the greenery skeleton
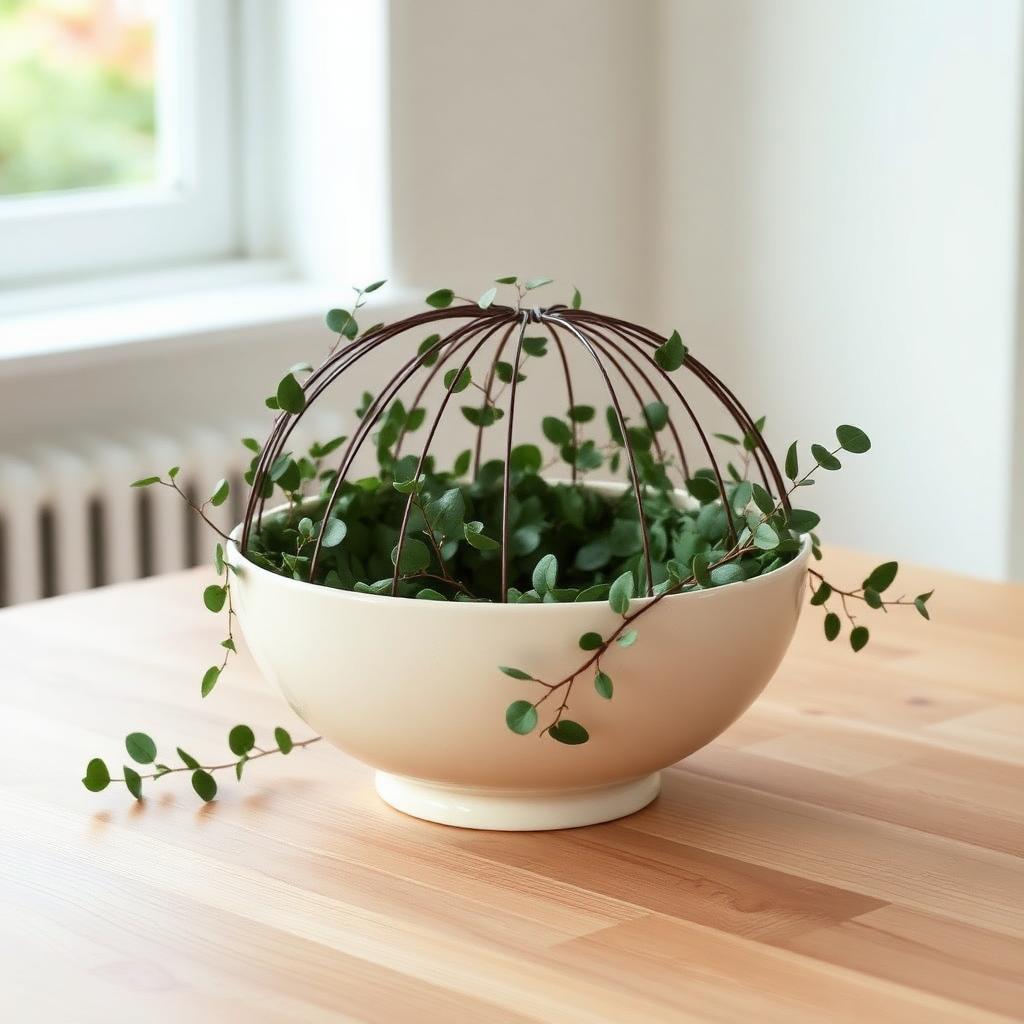
Insert greenery stems first to create the overall shape. For a rounded centerpiece, aim for a dome roughly 12–14 inches wide and 14–18 inches tall (including the vessel). Place stems at angles, not straight up — this creates natural volume. Let a few stems break the dome slightly for an organic feel.
Fresh tip: Insert stems at least 2 inches into the foam; anything shallower will loosen as the foam absorbs water and expands.
Artificial tip: If a stem is too thin for the foam, wrap the end with floral tape to bulk it up, or dip the tip in hot glue before inserting.
Step 3: Add height and structure
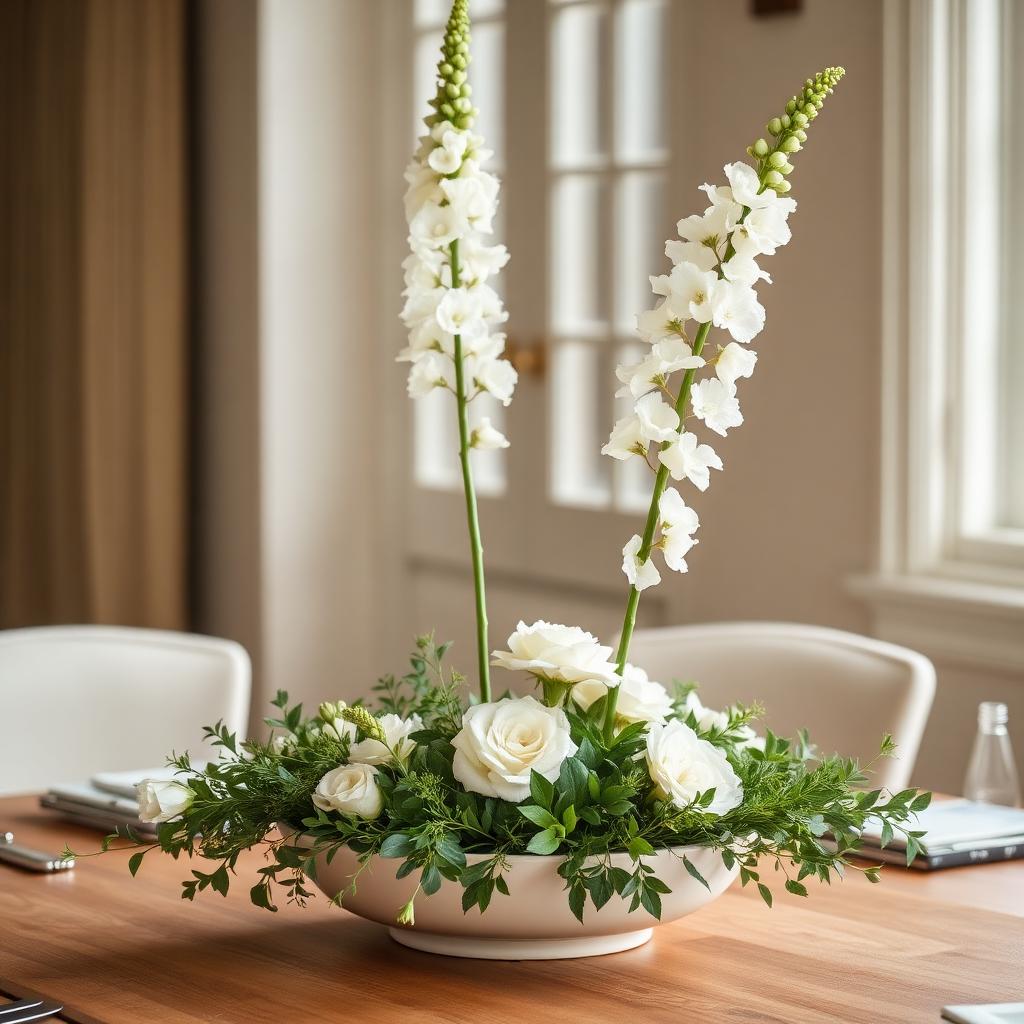
Place tall focal stems near the center-back of the arrangement, angled slightly outward so they do not block sightlines across the table. For a standard 60-inch round table, the tallest point should be 16–20 inches above the table so guests can see each other. For long banquet tables, you can go slightly taller (20–24 inches) because sightlines run along the table, not across it.
Step 4: Fill the body with focal flowers
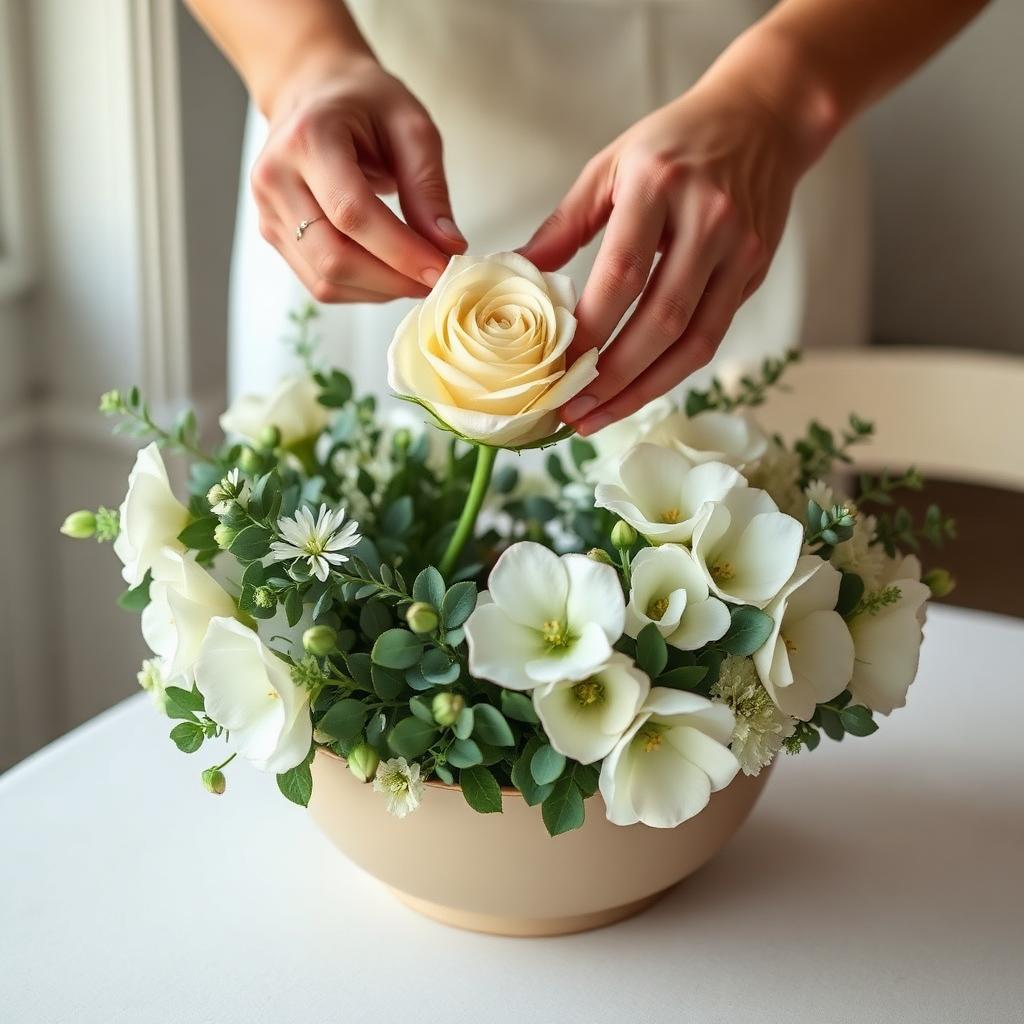
Work from the center outward, placing medium focal blooms in a roughly triangular pattern around the tall stems. Turn the vessel as you go so the distribution is even on all sides. Each stem should sit at a different depth — some deep inside the dome, some near the surface — to create layers.
Artificial tip: Artificial hydrangeas and peonies often come with thick plastic stems. If a bloom is too heavy and pulls out of the foam, pierce the foam with a wooden skewer first to create a channel, then add a dab of hot glue to the stem before inserting.
Step 5: Soften with filler and trailing accents
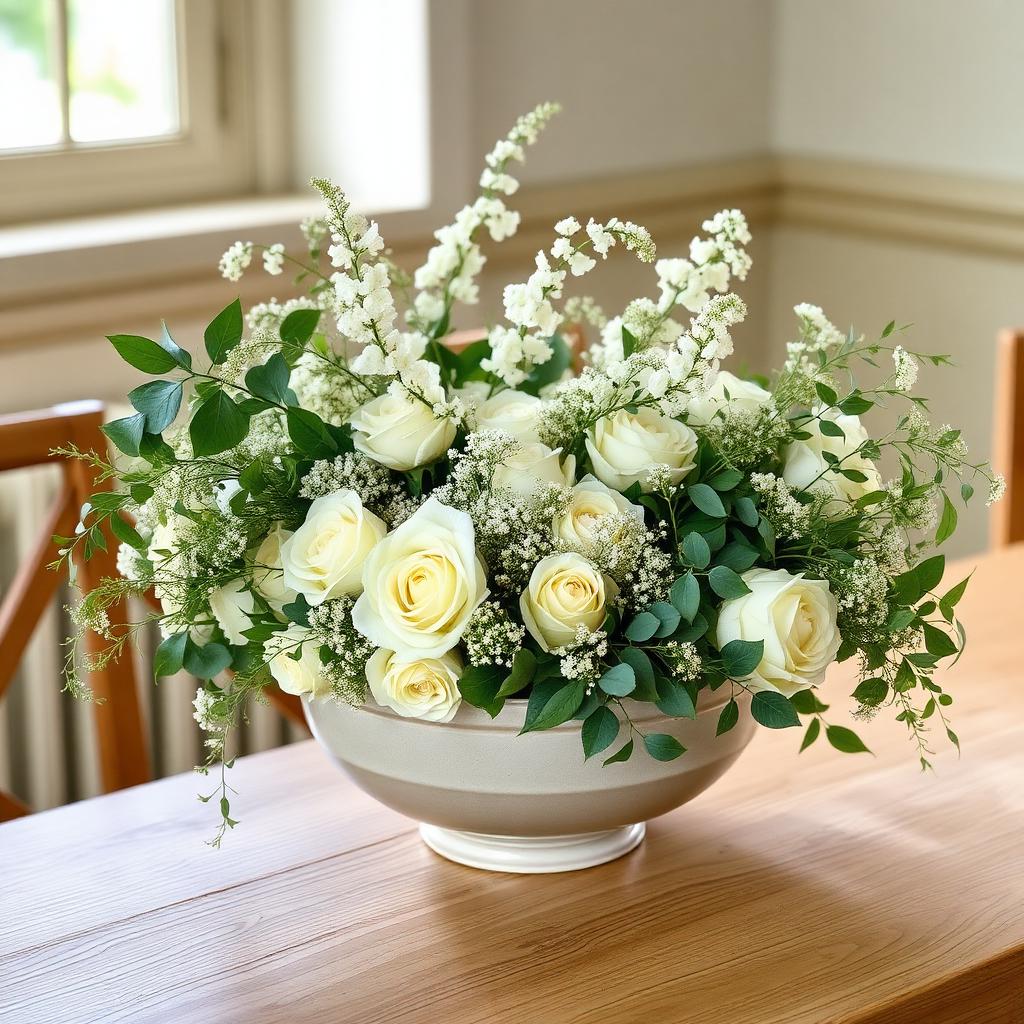
Use filler to blur the boundaries between flowers and greenery. Insert it into any gaps where foam or tape is still visible. Add trailing accents (amaranthus, ivy) near the rim so they spill 3–5 inches over the edge of the vessel. This "breaks" the silhouette and makes the centerpiece feel grown rather than assembled.
Step 6: Finish and inspect from all angles
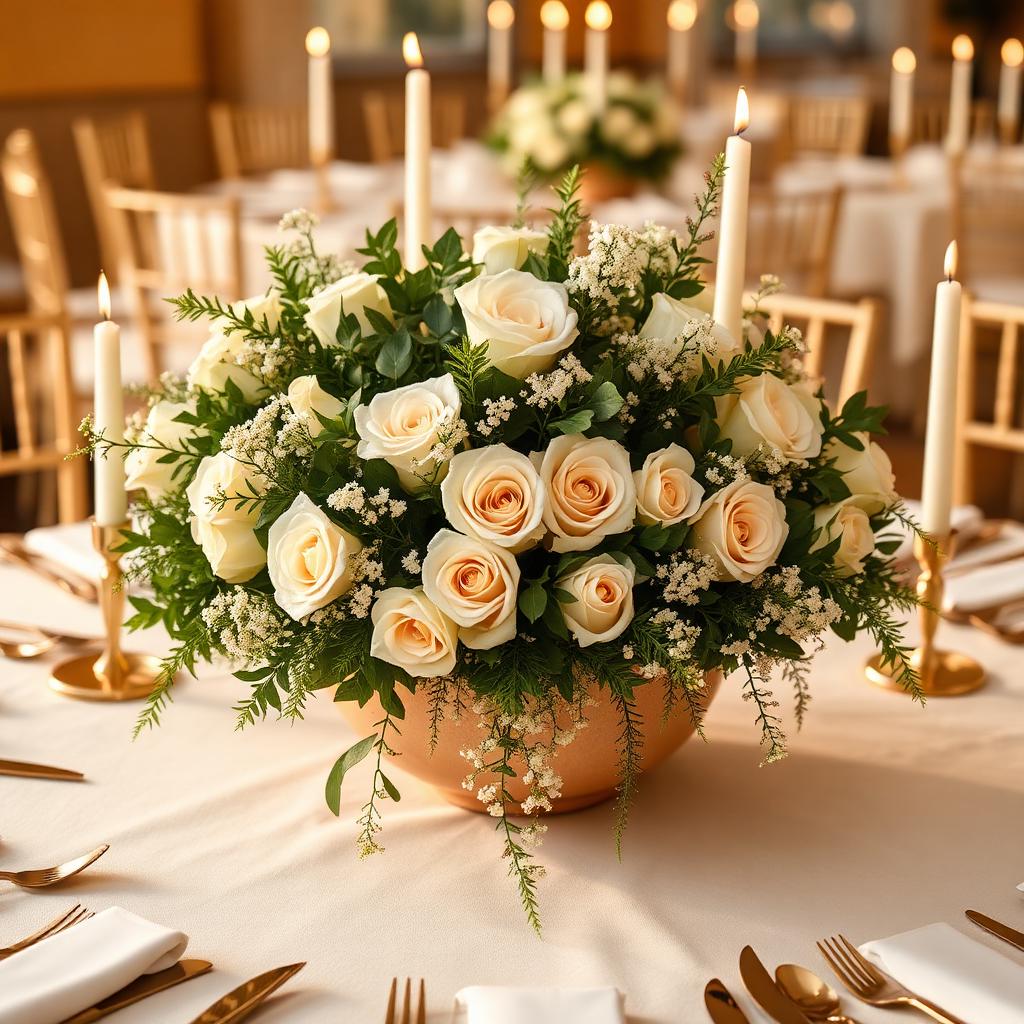
Spin the centerpiece slowly. Check for bare spots, lopsided color distribution, or visible mechanics (foam, tape, pins). Fill any holes with small greenery sprigs or filler.
Fresh: Top off the water until the foam is fully saturated. Mist the blooms lightly with clean water. Store in a cool, dark place on a towel in case of drips.
Artificial: Fluff and shape individual petals. If any moss has shifted, secure it with dabs of hot glue. The finished piece can be stored at room temperature, covered loosely with a sheet to prevent dust.
Scaling for your table layout
| Table type | Recommended size | Stem count multiplier |
|---|---|---|
| 48″ round (seats 4–6) | One small centerpiece, 10–12″ wide | 0.75× |
| 60″ round (seats 8) | One medium centerpiece, 12–14″ wide | 1× |
| 72″ round (seats 10) | One large centerpiece, 14–16″ wide | 1.25× |
| Long banquet (8 ft) | 3–5 small pieces or a runner | 0.6× per piece |
| Head table | 2–3 matching pieces spaced evenly | 0.8× per piece |
Common mistakes and how to avoid them
- Blocking sightlines. A centerpiece taller than 24 inches forces guests to peer around it. Keep the bulk below 18 inches or use tall, airy designs (branches, orchids) with open space between blooms.
- Skipping the greenery base. Greenery is not an afterthought — it is the architecture. Build the skeleton first, then add flowers.
- Using the wrong foam. Fresh flowers need wet floral foam (oasis). Artificial flowers need dry foam. Using wet foam for artificial stems causes mold; using dry foam for fresh flowers means no water supply.
- Not weighting artificial vessels. Tall artificial centerpieces are top-heavy. A weighted base prevents tipping during setup and throughout the event.
- All stems the same length. Varying stem depths creates a rounded, natural silhouette. If every stem is the same length, the arrangement looks like a flat disk.