
DIY tutorial · Bouquet
How to Make a Wedding Bouquet: A Step-by-Step Guide for Fresh & Artificial Flowers

Making your own wedding bouquet can cut your floral budget by 40–60%, and it gives you complete control over the shape, size, and color. This guide covers both fresh and artificial flowers, with real stem counts, tool lists, and a foolproof assembly method that works for beginners.
At a glance
| Detail | Fresh flowers | Artificial flowers |
|---|---|---|
| Time | 45–90 min | 60–120 min |
| Difficulty | Beginner–intermediate | Beginner |
| Total stems | 25–35 | 20–30 |
| Make-ahead window | 24–48 hours | 2–8 weeks |
| Approx. cost | $80–$180 | $60–$140 |
Interactive
Stem & scale calculator
| Piece | Qty | Focal | Secondary | Filler | Ø |
|---|---|---|---|---|---|
| Bridal bouquet | 1 | 6 | 10 | 12 | 10" |
| Bridesmaid bouquets | 4 | 4 | 7 | 8 | 8" |
| Toss bouquet | 1 | 3 | 4 | 5 | 6" |
Totals include a 10% buffer for breakage, rounded to the nearest bunch of 5. Focal = roses/peonies/dahlias. Secondary = ranunculus/spray roses. Filler = eucalyptus/wax flower/baby's breath.
What you will need
Tools (both types)
- Sharp floral shears or garden snips
- Floral tape (green or clear, 1/2-inch width)
- Stem wrap or satin ribbon (1.5–2 inches wide, 3–4 yards)
- Corsage pins or pearl-headed pins
- Wire cutters (for artificial stems)
- Hot glue gun + glue sticks (artificial only)
- 22-gauge floral wire (artificial only, for reinforcement)
Fresh-flower supplies
- Bucket of cool water with floral preservative
- Clean, deep vase for hydration
- Paper towels
- Cool, dark storage space (not a refrigerator with fruit)
Artificial-flower supplies
- Real-touch or high-quality silk stems
- Wire cutters
- Steamer or kettle (to relax creased petals)
Flower shopping list (standard bridal bouquet)
These counts build a medium, rounded bridal bouquet roughly 10–11 inches across. Scale up or down based on your frame and dress silhouette.
| Flower type | Fresh count | Artificial count | Role |
|---|---|---|---|
| Focal bloom (rose, peony, dahlia) | 8–12 | 6–10 | Stars of the bouquet |
| Secondary bloom (ranunculus, spray rose) | 5–8 | 4–6 | Texture and depth |
| Filler (baby's breath, waxflower) | 3–5 stems | 2–3 stems | Softness and airiness |
| Greenery (eucalyptus, ruscus, olive) | 8–12 stems | 6–10 stems | Frame and movement |
Step-by-step assembly
Step 1: Prep every stem
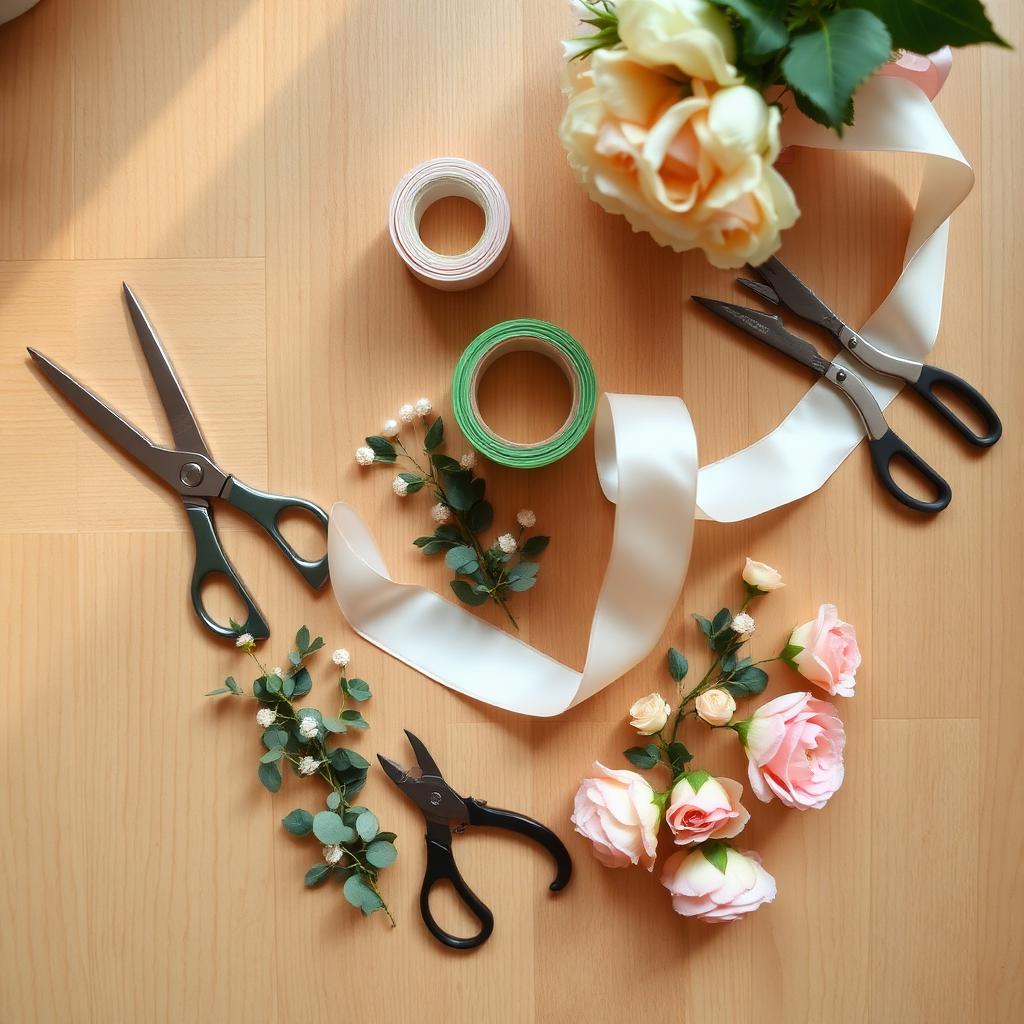
Fresh: Strip leaves and thorns from the bottom 6–8 inches of each stem. Cut stems at a 45-degree angle under running water or immediately place them into your hydration bucket. Let them drink for at least 2–4 hours (overnight is ideal).
Artificial: Use wire cutters to trim stems to 8–10 inches. If petals are creased from shipping, hold them 6–8 inches above a kettle of steam for 3–5 seconds to relax the fabric. Bend wired stems slightly so they will spiral naturally in your hand.
Step 2: Build your base spiral
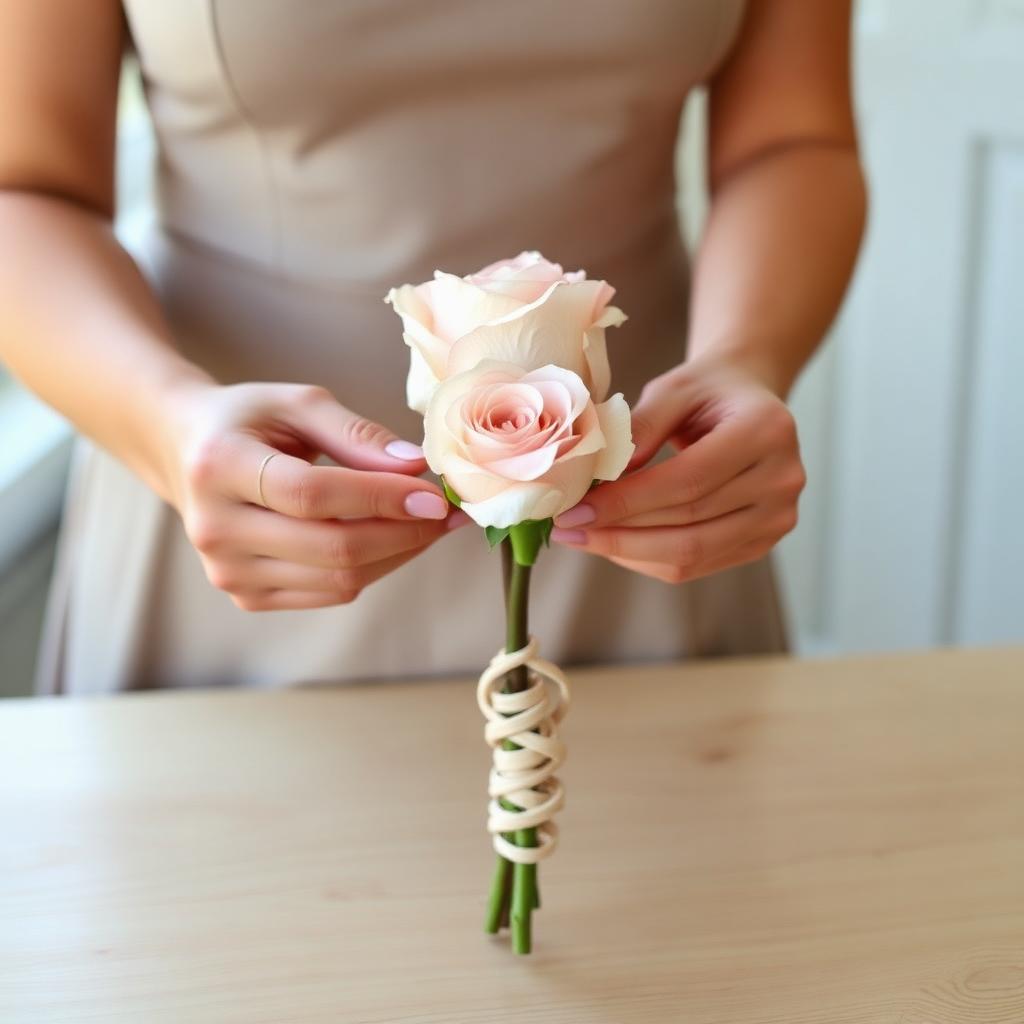
Hold one focal stem in your non-dominant hand so the bloom sits at chin height. Add a second stem at a 45-degree angle, crossing the first stem lower down. Continue adding stems one at a time, always crossing in the same direction (clockwise or counter-clockwise — pick one and stick with it). This creates the classic spiral hand-tied structure.
Alternate between focal, secondary, greenery, and filler as you go. Step back every 3–4 stems to check the shape from above. It should look roughly round, not lopsided.
Step 3: Fill gaps and add texture
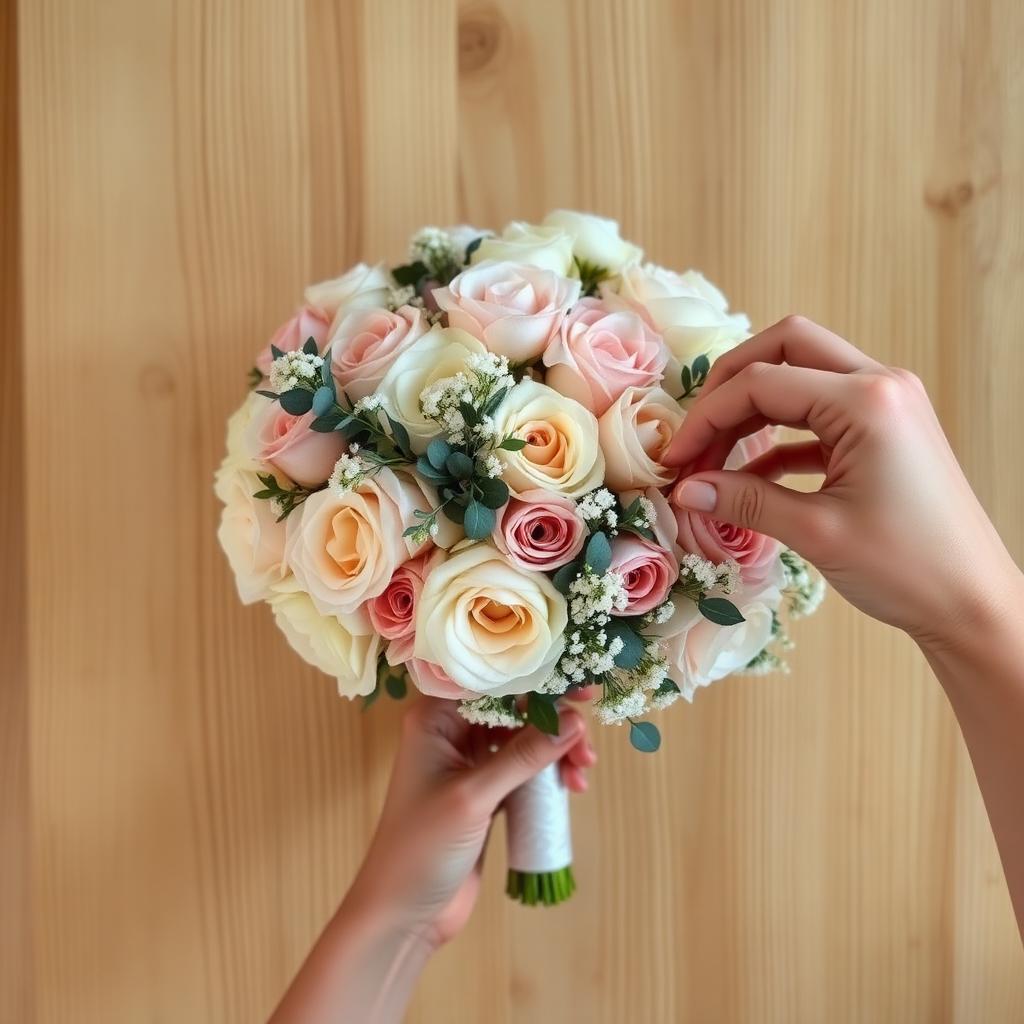
Once you have a base roughly 8–9 inches across, hold the bouquet at arm's length. Identify any holes or flat spots. Insert filler and smaller greenery stems into those gaps, angling them slightly outward to add air. For a more organic look, let 1–2 stems break the rounded edge by 2–3 inches.
Step 4: Secure the stems
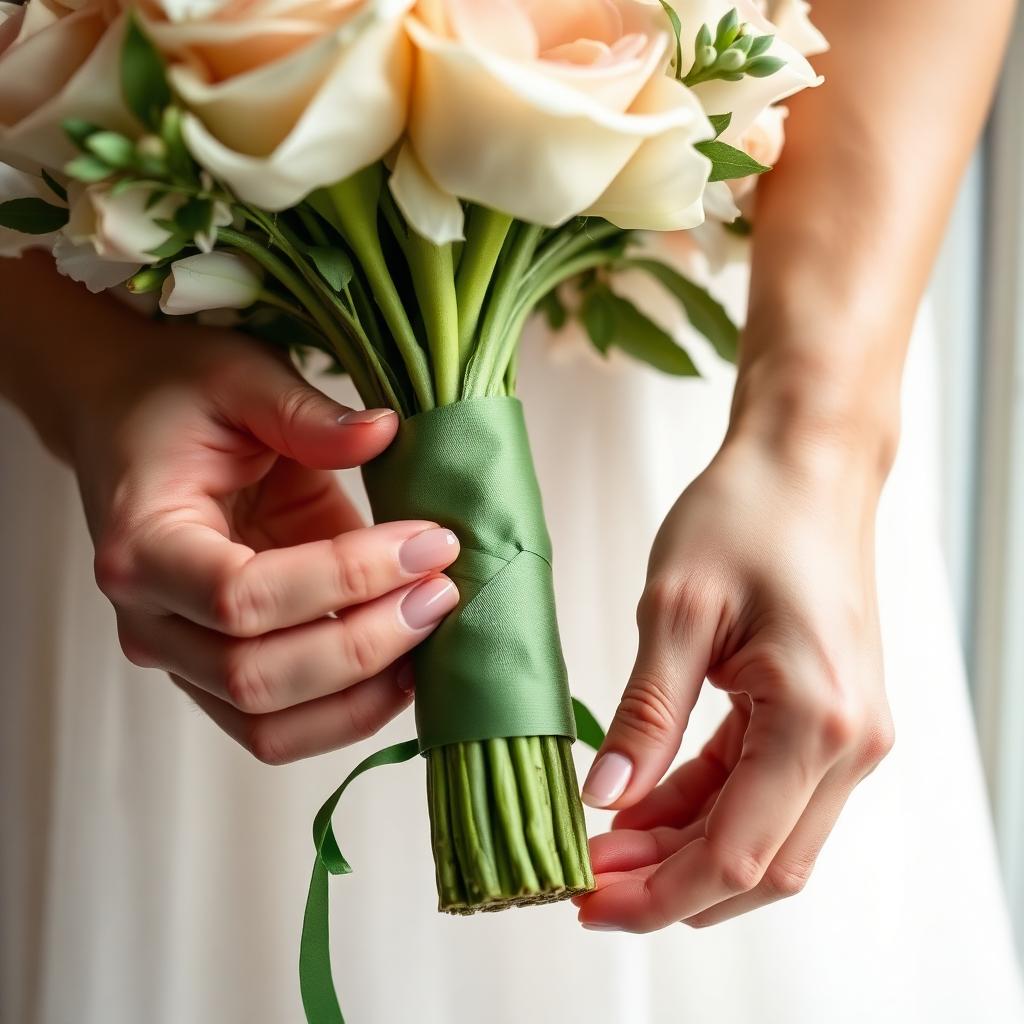
When the shape feels right, grip all stems firmly where your hand naturally holds them (usually 5–6 inches below the blooms). Wrap floral tape tightly around the stems, stretching it as you go so it sticks to itself. Wrap 3–4 layers for fresh flowers; 5–6 layers for artificial (the tape is the primary hold since there is no moisture grip).
Artificial tip: If any stem feels loose, pull it out, apply a dot of hot glue to the tape wrap, and reinsert it at an angle so the glue grabs both the stem and the tape.
Step 5: Finish the handle
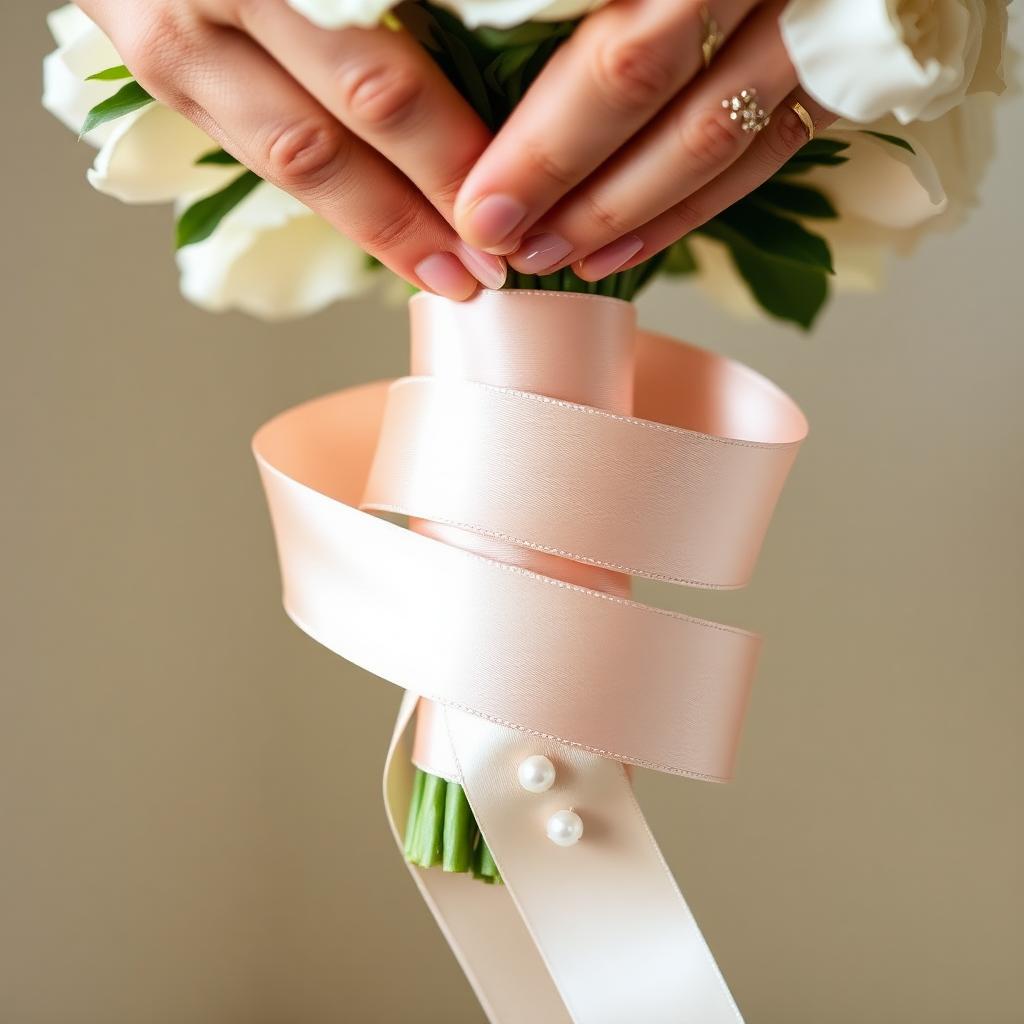
Starting at the top of the floral tape, wrap your ribbon downward in a tight spiral, overlapping by half its width. At the bottom, fold the raw end under and pin it with two corsage pins pushed up into the stems (not straight through, or the pins will show). For a polished look, add a second thin ribbon in a contrasting color tied in a small bow at the top of the handle.
Step 6: Hydrate (fresh only) or fluff (artificial only)
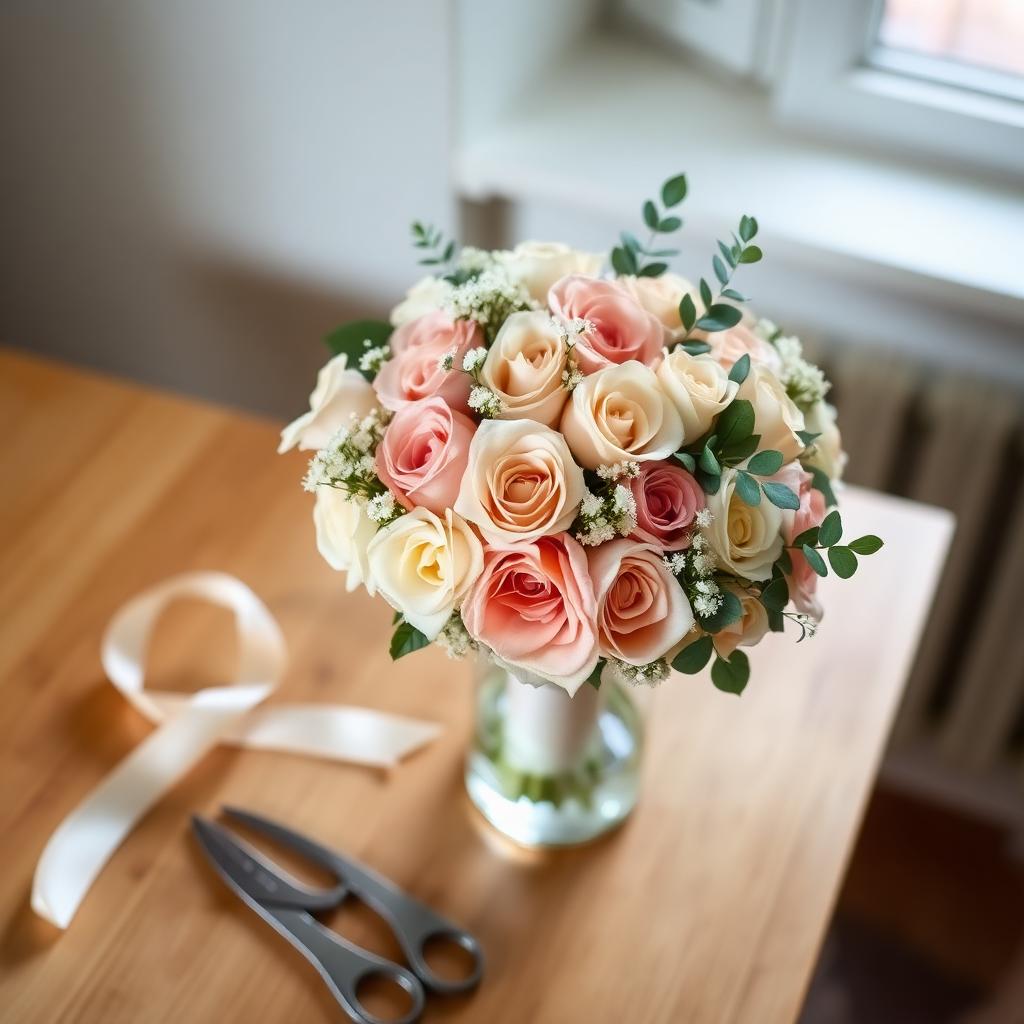
Fresh: Place the finished bouquet in a vase with 3–4 inches of water + preservative. Store in a cool, dark place. Refresh the cut ends and water every 12 hours.
Artificial: Gently pull and shape individual petals so no two blooms look identical. Lightly mist with a fabric-safe floral spray if you want a subtle sheen.
Common mistakes and how to avoid them
- Too many focal blooms. A bouquet with 20 roses looks dense and heavy. Stick to 8–12 focal stems and let greenery do the framing.
- Ignoring the back. The bouquet will be photographed from all angles. Spin it as you build and add a few backing stems of greenery so the reverse side is not bare.
- Cutting stems too short. You can always trim more, but you cannot add length back. Start with 10-inch stems and trim to 8 inches at the very end.
- Fresh flowers in the fridge with fruit. Ripening fruit emits ethylene gas, which wilts blooms overnight. Use a cool closet instead.
- Artificial stems all the same length. Real bouquets have natural variation. Trim artificial stems to slightly different lengths so the bouquet has depth, not a flat "picket fence" edge.